Sunday 4 November 2012

Tracking with laser specles

Imagine you film with shallow depth of field but still want to track precisely the background, for example to put something blurry in it (perhaps something scary or just a light?). The problem is that tracking requires sharp corners which do not exist when shooting with shallow DOF.

The way I have tackled the problem is to shine a diffused laser light in the scene. This diffused laser light creates a certain pattern which is called "Speckles". The amazing feature of this pattern is that it is always in focus. People like me who wear glasses can see the difference instantly by taking off their glasses and then the only sharp aspect left will be the speckle pattern. The bottomline is: if you light your background with laser light then you will have a fine structure which can be tracked!

I did two experiments with Adobe Aftereffects where I tracked a blurry background lit by tungsten...


 and one background lit by a green laser speckle:


The laser is just a standard green laser pointer which I put in a vice, added a diffuser and an ND gel to adjust the exposure. Here are the results (I blurred the text a bit to have the impression of a neon sign in the background, well, sort of!):

Tracking with laser speckle

Tracking of a blurry edge lit with a tungsten source

It can clearly be seen that tracking of the edge is much more precise using the speckle pattern. I made it for the laser tracking even more difficult by having a search window which has no chance to track the y direction precisely (see aperture problem). The camera was an AF100 at its highest bitrate and the lens was a Canon 50mm f/1.4 focused on the tool in the foreground. I had to add an ND filter to make the speckle pattern as faint as possible because H264 (as MPEG2) preserves more detail in the lesser exposed areas. The AF100 has a pretty nasty H264 compression which removes quite a lot of the speckle pattern but it still provides enough structure within the green area to improve the tracking.

Conclusion: lighting the background of a scene which is out of focus with a diffused laser makes tracking much more precise.

Sunday 26 August 2012

my PC config for Sony Vegas


Here is the config of my PC which I use with Sony Vegas Pro V11 (overall you might spend about £500-700). I don't like spending loads of money on new computers. All components are bought second hand on ebay. The processing power of this setup is comparable to a gaming PC but at a fraction of the cost (and minus the water pipes running through your tropic aquarium).

  • Dell Precision Workstation T5400: It's a bit dated but still a very powerful computer and therefore really cheap on ebay. It has sockets for two (!) X5450 Xeon processors running at 3GHz (very much the same as a Mac Pro but at 1/4 of the price). Each processor has 4 cores. I've got only one processor fitted which is more than enough for editing full HD. Don't be fooled by the newer i7 processors with hyperthreading faking 8 cores which are actually only 4. If you want to halve your rendering time you can buy a T5400 fitted with two processors giving you 8 independent cores which all can be used by Vegas for rendering and timeline playback. Don't try to fit a second processor by yourself. I've tried but didn't know that the X5450 come in different serial numbers (called stepping numbers) and they need to have matching stepping numbers for Windows 7 to run (Linux won't mind). You will never be able to find a matching processor second hand. Better to buy a T5400 with two processors fitted and avoid the hassle.
  • The operating system is Windows 7 professional 64 bit. For editing it needs to be 64 bits because future versions of most editing programs will only be available in 64 bits.
  • RAM is 4GB and is more than enough for Vegas. The T5400 uses professional RAM modules with parity which gives you peace of mind that your data on your hard drives won't disintegrate over time. I'm also using Adobe Aftereffects which really would love to have 8GB. I might buy that soon. Again, easy to buy from e-bay and easy to fit.
  • Graphics card: ATI Radeon HD5700 (for the PCI-e x16 slot). This card has a GPU which is well supported by Vegas and speeds up rendering and timeline playback drastically. It's great value for money. You can also add a second graphics card to the second card slot in the T5400 which adds a second GPU to the computer and further speeds up editing. NVidia cards are also supported but are generally more expensive. Sony has published some GPU benchmarks and a compatibility list on this web page. The standard nvidia graphics card in the T5400 is also excellent but won't have GPU acceleration.
  • Monitors: you need two monitors for proper editing. One monitor for the timeline and one for the preview which can be also calibrated or use colour profiles. I've downloaded a colour profile for my Samsung monitor which works great. Vegas allows full screen preview on a second monitor which should be ideally something like 1920x1080 in resolution but any widescreen monitor will do with a reasonable resolution. Vegas will scale it down. I've got a Samsung 1440x900 and an ancient Dell 4:3 monitor for the timeline.
  • Hard drives: I've got numerous hard drives in my computer but mainly because I'm also running Linux. It's essential to have two HDs: one for windows (100GB will do) and one for editing (1.5TB). I have also an HD tray which I bought off ebay which allows plugging in bare SATA drives into the computer. This is invaluable for backups or for editing whole projects on a swappable drive.
  • Blu ray writer:  LG's GGW-H20L universal CD/DVD/Blu Ray writer. It's a cracking device and never let me down. Look out for the newer models. I've been burning Blu Rays from all different manufactureres and never had any problems. Important: Windows has trouble with the blu ray writer using the new SATA controller architecture. If you get stuck at boot time and there needs to be a DVD in your drive to boot the computer go into the BIOS and switch the SATA to legacy. It won't slow down but you won't get a 5th SATA port.
  • IEEE1394/firewire: I'm using a standard Texas Instruments based firewire card. It's important to know that the T5400 has 3 PCI slots and that there are two types of PCI slots (3.3V and 5V) which look different. Before you order a card have a look inside of the T5400 and check which kind of slot is free. The same applies to the sound card. Best you just buy PCI cards which are universal PCI cards and you won't have trouble swapping.
  • Sound card: the internal sound card is fine for stereo mixes and is surprisingly good. Use a good PC sound system with a subwoofer. However Vegas allows also 5.1 mix! Because of this I've now added an ASUS Xonar DG card. The driver installation is a pain (install-de-install-install) but once it's working you can connect the 6 analogue outputs to your favourite surround system (I use a Kenwood KRF-V5050) and start mixing in 5.1 under Vegas (always hoping that film festivals actually know how to set up more than one speaker correctly...). Don't use the optical or coax outputs of the card because they are only stereo and not 5.1. They only support 5.1 if the source is AAC compressed which is obviously not the case when playing back from Vegas.
  • More hard drives: The Dell has space for up to three hard drives. They are very easy to fit. You can connect up to four drives to the motherboard (3 hard drives and the Blu Ray writer). If you want to connect more you need a second SATA controller. I can only recommend the Silicon Images Si 3114 SoftRaid5 Controller. I tried cheaper ones from ebay and none of them worked (especially don't touch VIA, ever!). The Silicon Images controller is immensely versatile and works for all different kinds of applications. It provides the connection to my hard drive bay and also to an external eSATA connector to be able to connect drives containing digital cinema packages (DCPs). Linux allows hot swap with this controller so that it's possible to emulate what a DCP server does in a cinema.

Monday 30 July 2012

Creating a DCP with openDCP

Here I'm describing how to create a DCP master for digital cinema projection.
I'm using Vegas Pro as an editing program and Ubuntu Linux for the DCP creation.

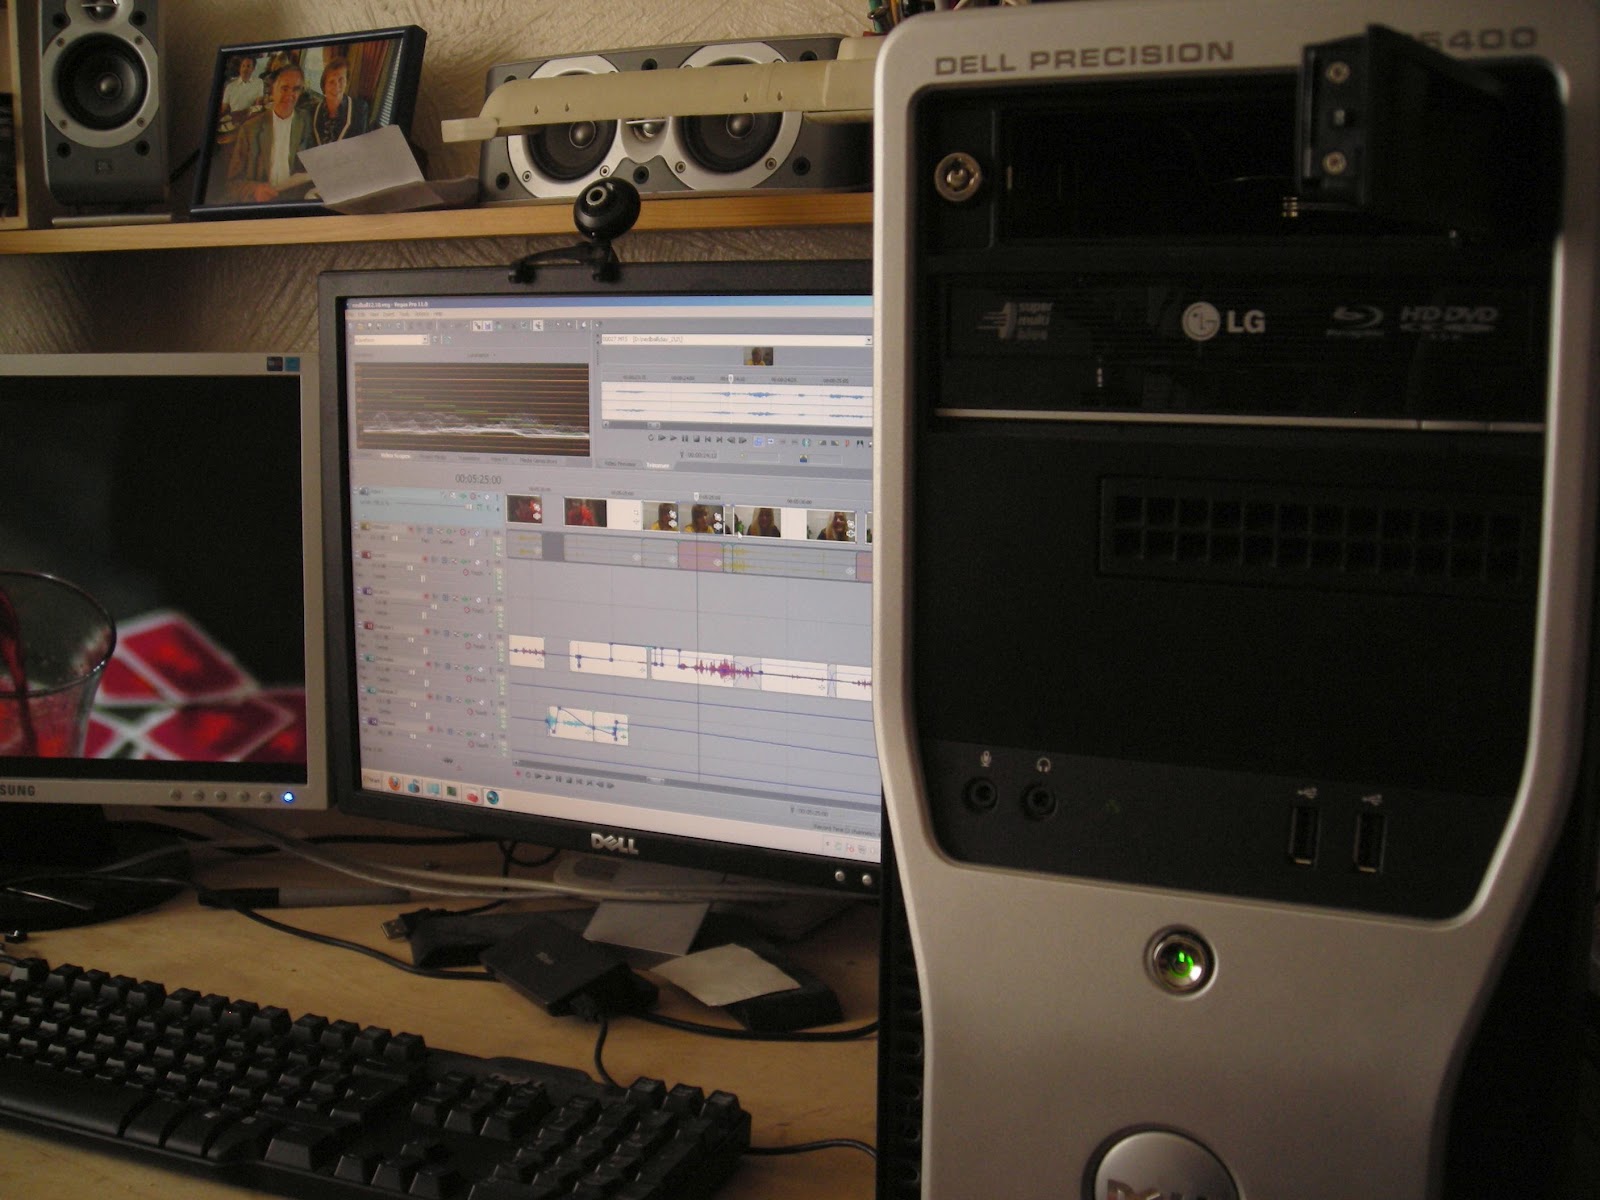
Export from the editing program

Settings

  • 1998x1080: this is the size you want to have if your source material is 1920x1080. Note the black bars to the left/right in the preview window. Make sure that Vegas is not scaling the image up to fit the screen. This would results in a very uneven vertical spacing of the lines. Some would be doubled and some not.
  • 24FPS in the settings. Some DCP servers can also play at 25P but rather not risk it. In our case the source material is 25P and Vegas takes care of the conversion to 24P.
  • Brigthness levels: the whole range of values need to be used from 0..255. In other words black is at 0 and white at 255. The standard however is 16 for black and 234 for white. Luckily the "pro"-res was already in the wrong format clearly visible in the oscilloscope. For native projects one needs to apply a level conversion which is often called from studio RGB to computer RGB. Check with your software.
  • Sound: it's 48kHz sampling rate and 24 bits. This means that every frame gets 2000 samples of audio. Simple as that.
  • Average sound levels at -20bB. In the example I had to reduce everything by -15dB (was adjusted to -3dB!).
  • 3 secs black before / after. The projectionist can easily add more black before / after.

Export

You need to export the picture as individual TIFF images and the sound as WAV.

  • TIFF: luckily there is nothing to configure here. Just export the film as an image sequence and select TIFF. Vegas compresses the images with LZW so that at least there's a bit of relief in terms of space. Check with a program such as GIMP if the images have the correct black levels namely that black is really 0 and white 255. Add an underscore to the filename such as "a_mugs_game_.tiff" so that the image number is nicely separated from the filename.
  • WAV: The sound files are exported as WAV files. Here, you need to create your own template probably. Cruical is that you export the audio streams separately: 48kHz, 24bits and mono (multiple) which creates you files called "a_mugs_game_left.wav" and "a_mugs_game_right.wav". In case you have 5.1 surround you also get the other streams separately. Again, it's good to have an "_" after the name so that the "right/left" are nicely separated.

Creating a DCP compatible drive

Hardware

The DCP is shipped on a 500GB hard drive which is inside of a CRU DataPort DX115 or DX115DC. The right part shows the actual DX115 carrier which contains the hard drive. I used a pretty standard 500GB hard drive. As long as it's SATA it should be fine. The docking station is an adapter which allows a SATA connection and a USB connection. Beware: not an eSATA connection which is very annoying. For proper testing the SATA connection is required. Connect a SATA cable to one of the free SATA slots inside of you your computer and run it to the docking station.
Alternatively buy an internal docking station which fits into a standard DVD drive slot. This is actually the "proper" method because this internal docking station is used in the DCP servers and allows hot swapping. It is very elegant in that you can plug in the drive while the server is running and Linux can mount it automatically. Removal of the drive can also happen during operation.

Linux

Time to reboot to Ubuntu Linux. In my case Ubuntu 12.04 LTS (Precise Pangolin). This version is highly recommended. It contains all necessary libraries and connects without any problems with the drive and because it's LTS it will be supported for at least 2 years.

Formatting the drive

The drive needs to be formatted as EXT3. This is probably the most risky step because you need to format the external drive and not your operating system (!). Type dmesg and have a look which drive is associated with your external drive:
[  139.684652] sd 7:0:0:0: [sdd] 976773168 512-byte logical blocks: (500 GB/465 GiB)
[  139.684689] sd 7:0:0:0: Attached scsi generic sg4 type 0
[  139.684712] sd 7:0:0:0: [sdd] Write Protect is off
[  139.684716] sd 7:0:0:0: [sdd] Mode Sense: 00 3a 00 00
[  139.684746] sd 7:0:0:0: [sdd] Write cache: disabled, read cache: enabled, doesn't support DPO or FUA
[  139.705147]  sdd: sdd1
[  139.705360] sd 7:0:0:0: [sdd] Attached SCSI disk
[  273.000188]  sdd: sdd1
[  429.766469]  sdd: sdd1
In this case plugging in the external drive gives you the device /dev/sdd. To be safe you should use fdisk with "fdisk /dev/sdd" and delete all particions and then create one primary Linux partition. It's menu guided so not very difficult.
Then you need to format this partition with:
sudo mkfs.ext2 -I 128 -j /dev/sdd1
This creates an EXT3 file system with an inode size of 128 bytes. Some people had difficulties with inode size of 256 on older servers but that was in 2008. Modern servers should all support the now default inode size of 256 but to be safe just force the formatter to use an inode size of 128. The option "-j" creates an EXT3 filesystem. However, also an EXT2 should do because it's downward compatible. Again, better to create an EXT3 even if that's not required by the DCP standard and a journal pretty useless in a read only filesystem.
Mount the newly created drive with:
sudo mount /dev/sdd1 /mnt
and then change permissions that you can write to it as a normal user:
sudo chmod a+rwx /mnt

Using openDCP

What I'm describing here has been done under Ubuntu precise pangolin with openDCP v0.0.26. Download the debian package opendcp-0.0.26-linux.i386.deb and install it with "sudo dpkg -i opendcp-0.0.26-linux.i386.deb". Then you are ready to go. If dpkg moans about missing packages just start your favourite package manager and install the missing packages and re-run dpkg.

Creating the JPEG2000 files

The TIFFs now need to be converted to JPEG2000 files and into the XYZ colour space. The can be done by the command line tools or by the openDCP gui. I used the GUI for it which shown here.
I just left the settings as they are. Important here is that the framerate is 24P and that the source colour space is sRGB and that there is a conversion to the XYZ colour space.
BTW, don't panic: the preview stays black. Also, there seems to be a problem with the progress bar. Check at the end that all images have been converted. If there are any problems then use the command line tool instead but in my case everything went fine. GIMP won't loads the JPEG2000 files but interestingly "eog" (eye of gnome) does. The images will look hazy and with wrong contrast. This is normal. If you want to check the images with GIMP you need to convert them to PNG with "convert".

Creating the MXF files

The actual files which are played on the DCP server are MXF files. There is one for audio and one for video. Again, I used the graphical tools to create the MXF files.

Picture

The MXF containing the picture is created again with the "opendcp" GUI. Select "MXF" and then JPEG2000, SMPTE and 24 frames per second. Specify the directory where all the JPEG2000 files reside and the output directory which should be on the EXT3 formatted external drive.
Both, the scanning of the directory and also the conversion will take a while so be patient. Alternatively you could use the command line tool:
opendcp_mxf -i . -o /mnt/a_mugs_game_video.mxf
assuming that the input images are in the current directory and the output MXF goes straight onto the external drive.

Sound

The sound is done in the same way but by selecting WAV in the uppermost drop down box. Then select if you have just stereo or 5.1 surround sound (6 channels). Barney, the projectionist at the GFT told me that he would prefer 5.1 because there is usually no time to switch to pro logic but in our case here we have just stereo.
The output MXF should be on the EXT3 formatted drive.
Just select all the separate wav files and then press Create MXF. This will probably just take a few minutes. As a curiosity there is no documentation how to create the sound MXF from the command line. You need to use the GUI.

Creating the XML files

The final step is to create the XML files which are the "glue" between the MXF files and contain the title and descriptions such as issuer and rating.
For the final step I switched to the command line tool because in the GUI version it's not clear what's happening to the actual files. The command line version won't move/delete any of the MXF files but just creates the XML files in the same directory. Run it in the directory of the external drive. In my case just called "/mnt" after "cd /mnt" (one line):

opendcp_xml --reel ./a_mugs_game_video.mxf ./a_mugs_game_sound.mxf --title A_Mugs_Game --annotation OpenDCP_CPL --issuer BratwurstAndHaggis --kind feature

Don't forget to properly un-mount the drive before unplugging or just shut down the computer. 

To test your DCP plug the HD back in. If you have USB connection then you should instantly see the files. If you have the internal SATA bay then it should show up in your dmesg when the drive is inserted into the computer. Mount it as described above and check that everything is there.

To test if it plays you can use the dcpPlayer for example. It plays the first 15 secs of your film or you could invest about £150 for a license. This is only available under Windows and you need to install a driver which can mount the EXT3 filesystem.

Finished!

Credits:
Matt Cameron's DCP tutorial
A big thanks to the GFT for letting me to try out the DCP and especially Barney who gave me valuable feedback especially about the sound.

Tuesday 3 July 2012

GH2 hacks

At the start of the year I was really excited that the GH2 got finally a firmware update which allows HD recording at 25P and high bitrates. I used this mode for my film NEDball. However some shots had horrible blocking artefacts:
Notice the area around the cheek (click on the image to enlarge). The bitrate of this shot is pretty low throughout:
It rarely goes above 12Mbit/sec.
I did a couple of test shoots and found the problem: the camera drops the bitrate if the foreground is dark. Remember what every consumer has been brainwashed into? Have the light behind you. Put the flash on the camera. Have the sun behind you. In more professional terms: keep the key behind the camera. Well, we all know how that looks: crap! Cinematic lighting is often with the key at very steep angles or from behind the subject. It looks best if the sun is behind the subject and we bounce light back into his/her face.
In the example above it's an HMI clamped on the door suggesting a practical light clamped there (and therefore deliberately not hiding the cable). INT daytime lighting is usually against a window so that the subject's face is often pretty dark.
There are numerous patches available for the GH2 from the site Personal View. It's an excellent site and I encourage to donate to the project. After having tried out most of the patches I can only recommend the so called "Sanity pach" from their page or it can be downloaded also here. This patch produces nearly constant bitrate no matter if the foreground is dark or not. Any other patches (flowmotion, aq4, vanilla, intra x, ...) perform well shooting grass, bushes and other detailed patterns but drop the bitrate drastically in underexposed areas and look exactly as the original HBR mode -- and I rarely shoot bushes in my films.
Some of the patches waste over 100Mbit/sec and still look terribly blocky. It feels a bit like these audio-philes who claim that only a cable with a diameter of 10cm (used to power a whole village) sounds perfect connecting the amp and the loudspeaker forgetting that the mechanics of the speaker introduces >1% distortion. Anyway. Coming back to the cinematic lighting:
Here we have a still from "Mirrorgod" (with Jamie Lee McPherson). It has a similar brightness profile as the shot above
but this time we have no compression artefacts at all (again click on the image to enlarge). This has been shot with the Sanity patch. It only drops the bitrate when it's completely pitch black but otherwise it always stays at about 30Mbit/secs.
Conclusion. Don't get fooled by people claiming that "inter" and/or 100Mbit/sec are absolutely necessary to produce great footage. It's rather crucial that we won't let the camera decide what's important but that we leave that to the viewer. I highly recommend the Sanity patch for that reason. It has sane bitrates, is ultra-reliable with class 10 SD cards and has outstanding quality.